AR-15 Basics, AR-15 Parts, AR-15 Stocks, Pistol Brace
How to Install a Pistol Brace on Your AR Pistol
Jun
Table of contents
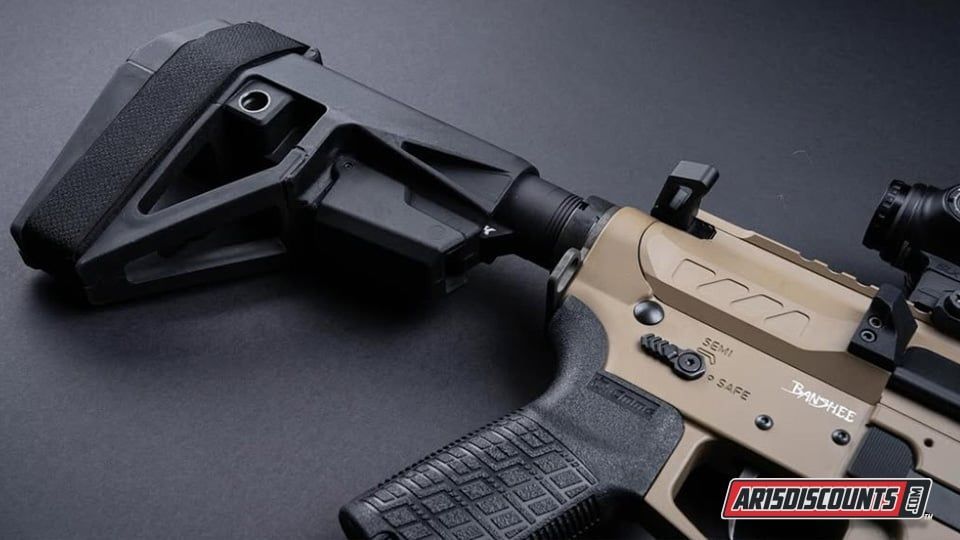
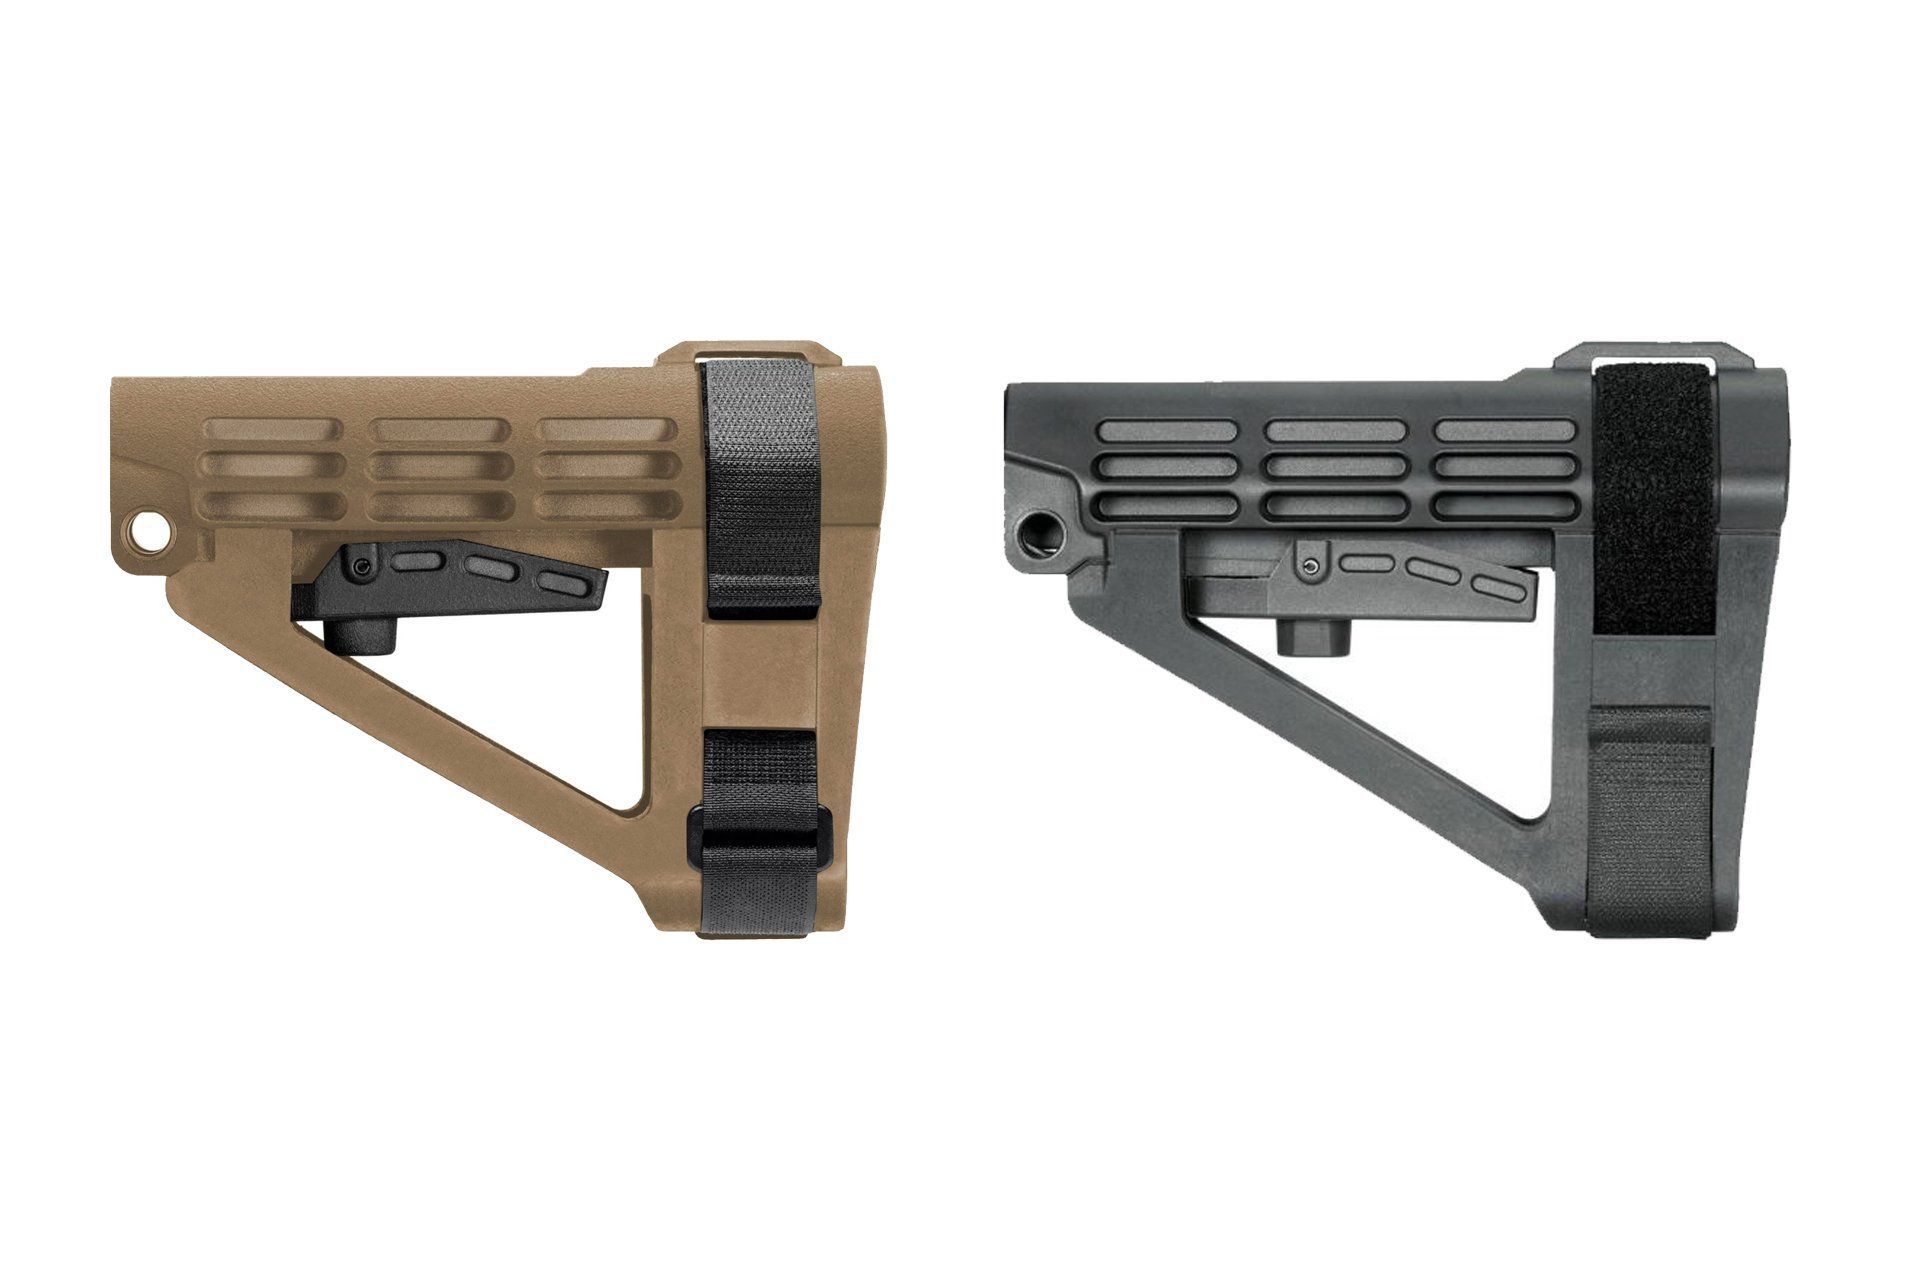
Pistol braces have become a popular upgrade for AR pistols, offering shooters better control and stability without crossing into short-barreled rifle territory. At AR15Discounts.com, we carry a full selection of SB Tactical options like the SBA3, SBA4, SBA5, and more to help builders upgrade their pistol exactly how they want it.
Why Consider a Pistol Brace
A pistol stabilizing brace attaches to the buffer tube of an AR pistol and provides an additional point of contact against the forearm. This setup improves handling, reduces muzzle flip, and enhances accuracy, especially during one-handed or offhand shooting. Many users with limited mobility or injuries find braces particularly helpful for safer and more comfortable operation. Braces also allow quick shouldering for better stability in dynamic scenarios while keeping the firearm classified as a pistol under current regulations.
The SB Tactical Story
SB Tactical pioneered the pistol stabilizing brace category. Founder Alex Bosco, a USMC and Army veteran, created the first prototype in his garage after a range session with a disabled combat veteran friend who struggled with control. The goal was simple: give wounded veterans and others a way to shoot AR-style pistols more safely and effectively. After an ATF opinion letter confirmed the brace design did not turn a pistol into a rifle, Bosco founded SB Tactical and began production. Today the company leads the industry with innovative, veteran-designed products made in the USA, including popular models like the SBA3 and SBA5.
Why Keep It a Pistol Instead of an SBR
Staying with a pistol configuration avoids the NFA paperwork, tax stamp, and wait times required for a short-barreled rifle. A brace delivers compact size, lighter weight, and easier transport while maintaining legal pistol status. Many shooters prefer this route for home defense, range use, or truck guns where quick deployment matters. SB Tactical braces provide stock-like functionality without the regulatory burden.
How Easy Is the Installation
Installing an SB Tactical brace ranks as a straightforward project for most AR builders. With basic tools and careful attention to detail, the entire process takes under an hour. SB Tactical strongly recommends a certified armorer or gunsmith for anyone who feels unsure, but following the included instructions or their installation videos makes it accessible for confident do-it-yourselfers.
Tools Needed
A castle nut wrench, a vise with an AR magazine vise block, and optionally a flathead screwdriver cover the basics. These tools allow safe, controlled work and help achieve proper torque throughout the process.
Step-by-Step Installation for SBA3, SBA4, and SBA5 Braces
- Ensure the firearm is unloaded, then separate the upper and lower receivers. Secure the lower receiver in the vise using the vise block.
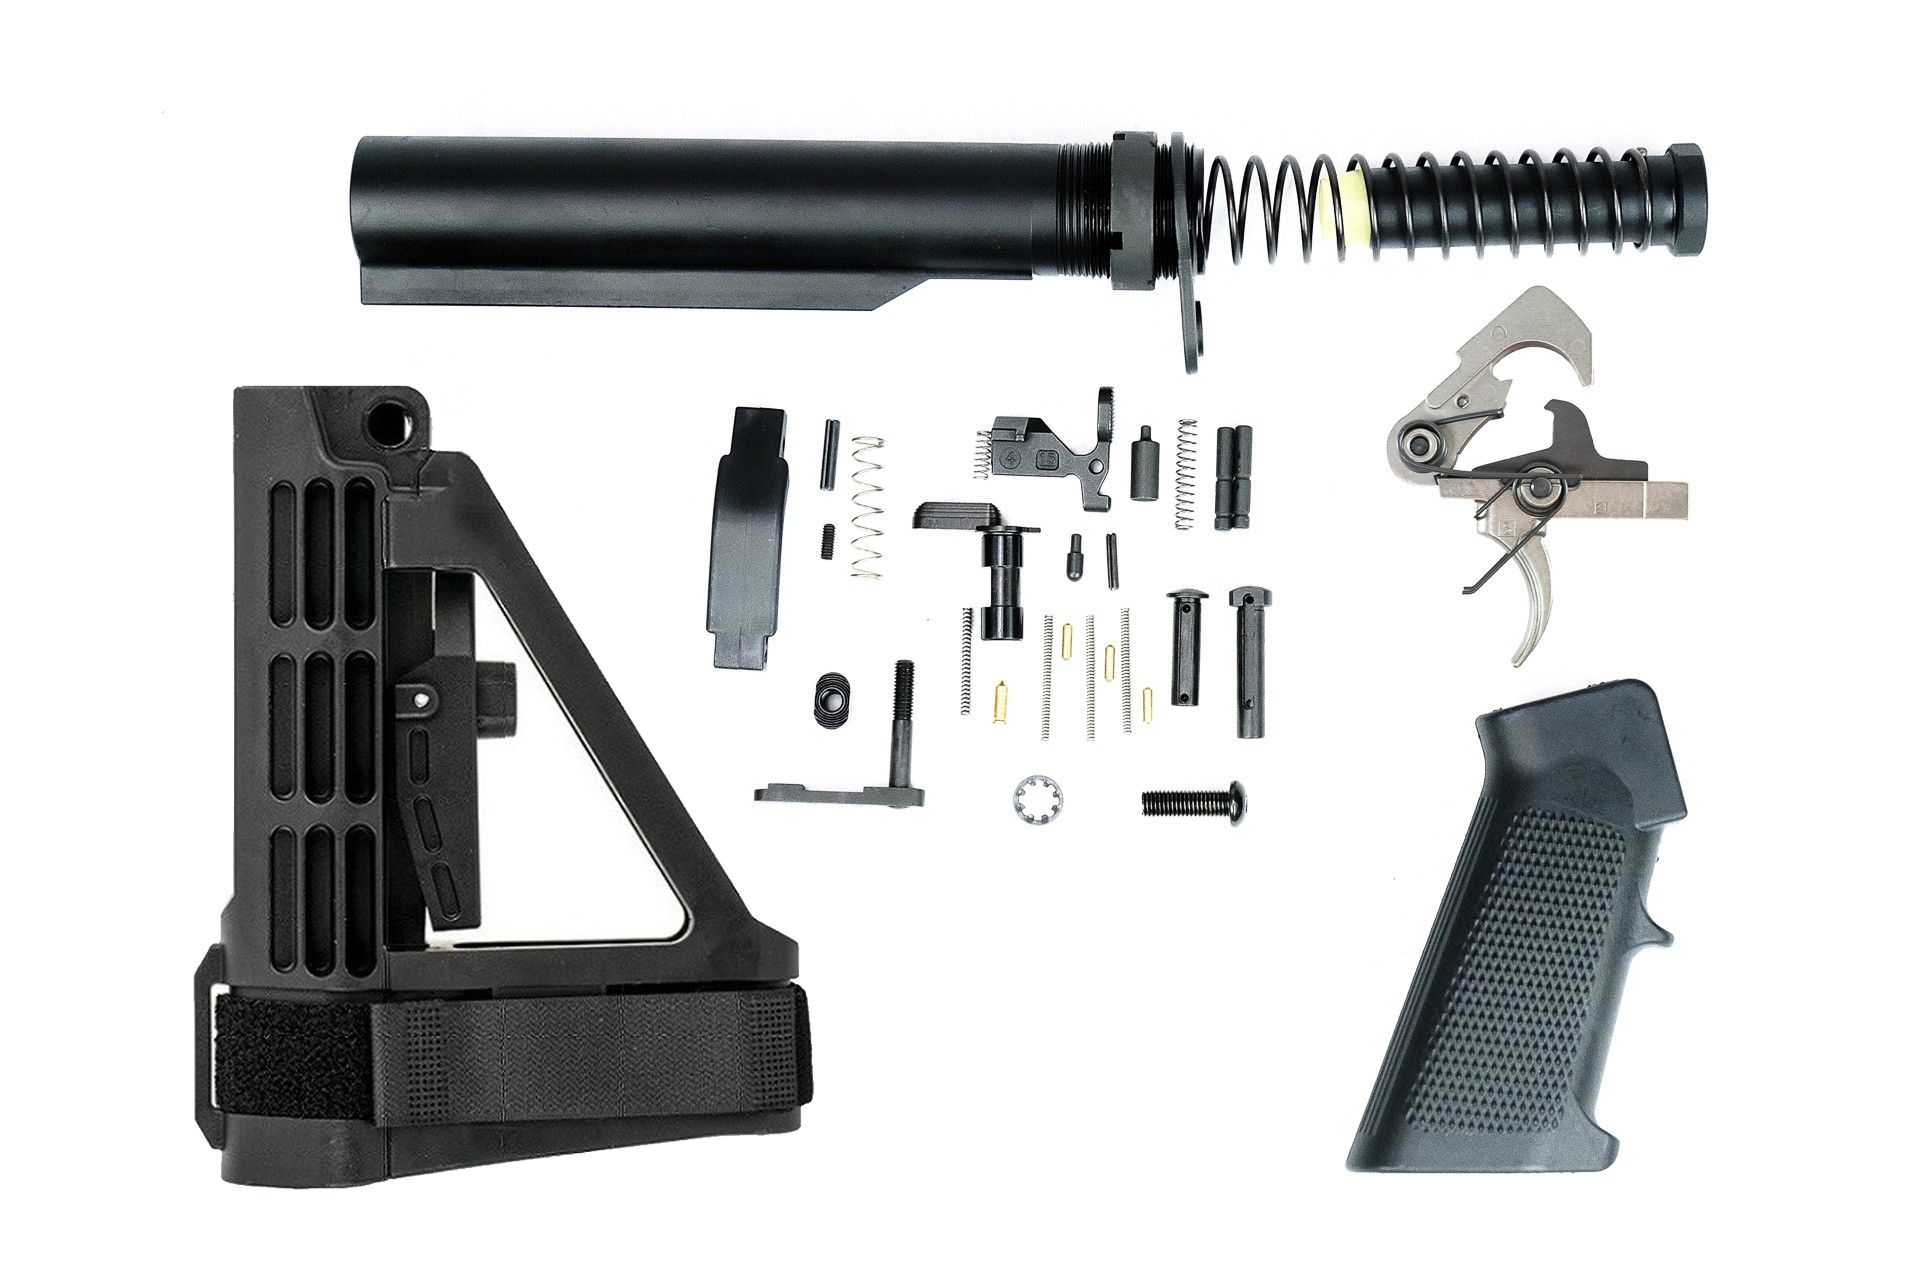
- If a pistol buffer tube is already installed, remove it completely. Gather the end plate, castle nut, buffer, buffer spring, buffer retainer pin and spring, and rear takedown pin with detent and spring before proceeding.
- Insert the rear takedown pin detent and spring into the lower receiver hole so a portion of the spring protrudes.
- Install the buffer retainer pin and spring.
- Thread the castle nut onto the mil-spec carbine receiver extension with the wide notches facing away from the receiver. Slide the end plate onto the tube.
- Insert the threaded end of the tube through the end plate and into the lower receiver, turning clockwise until the lip contacts the buffer retainer pin. Depress the retainer pin and continue threading until the pin is captured. Clock the tube so the keyed section sits at six o’clock for proper orientation.
- Carefully slide the end plate over the rear of the receiver while compressing the takedown pin detent spring. Avoid kinking the spring during this step.
- Hand tighten the castle nut against the end plate, then torque it to the recommended 40 foot-pounds using the castle nut wrench.
- Pull the rear takedown pin to verify the detent functions correctly.
- Reinstall the buffer and spring, checking that the retainer pin works smoothly.
- Reassemble the upper to the lower.
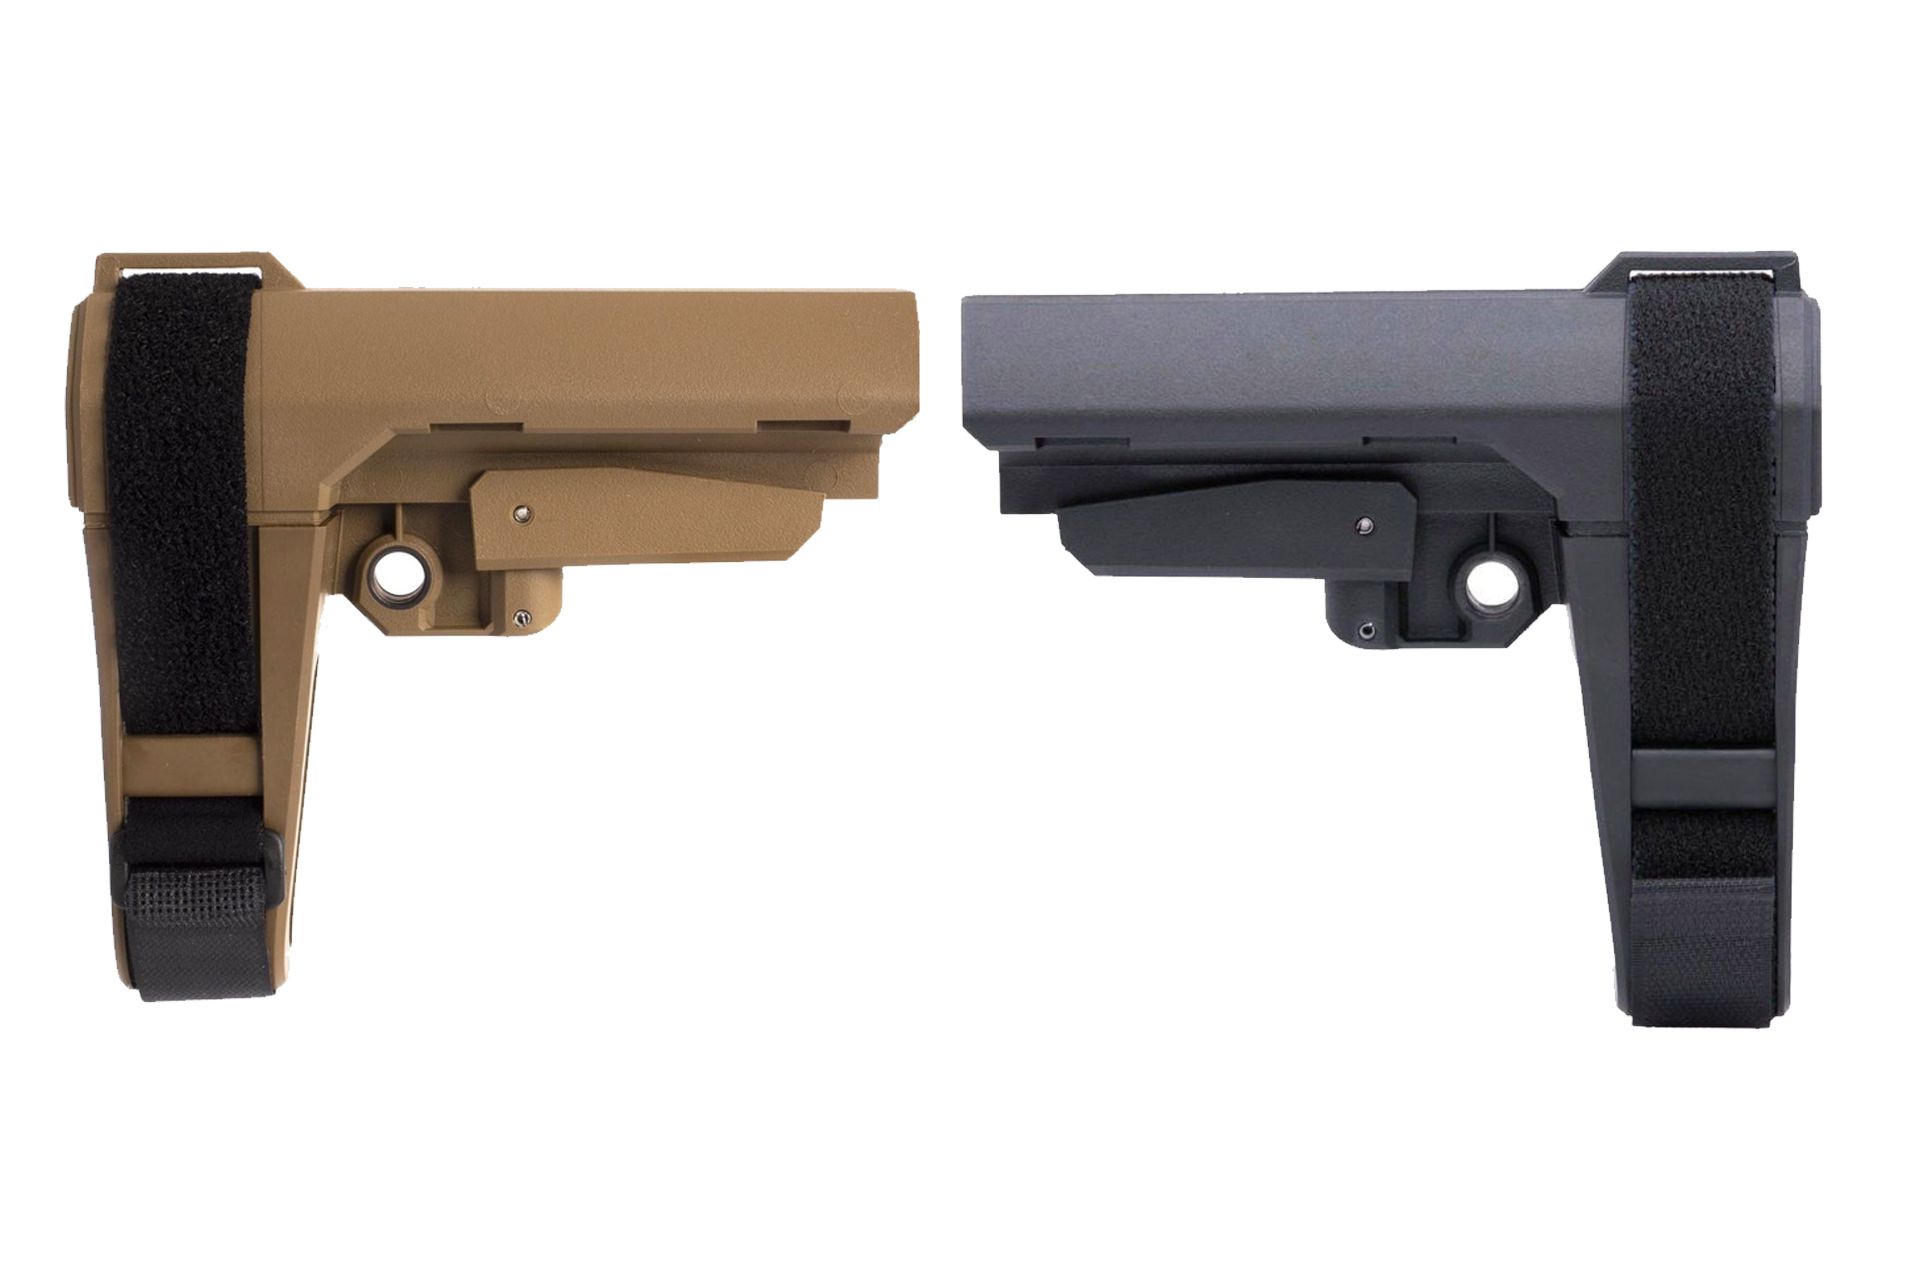
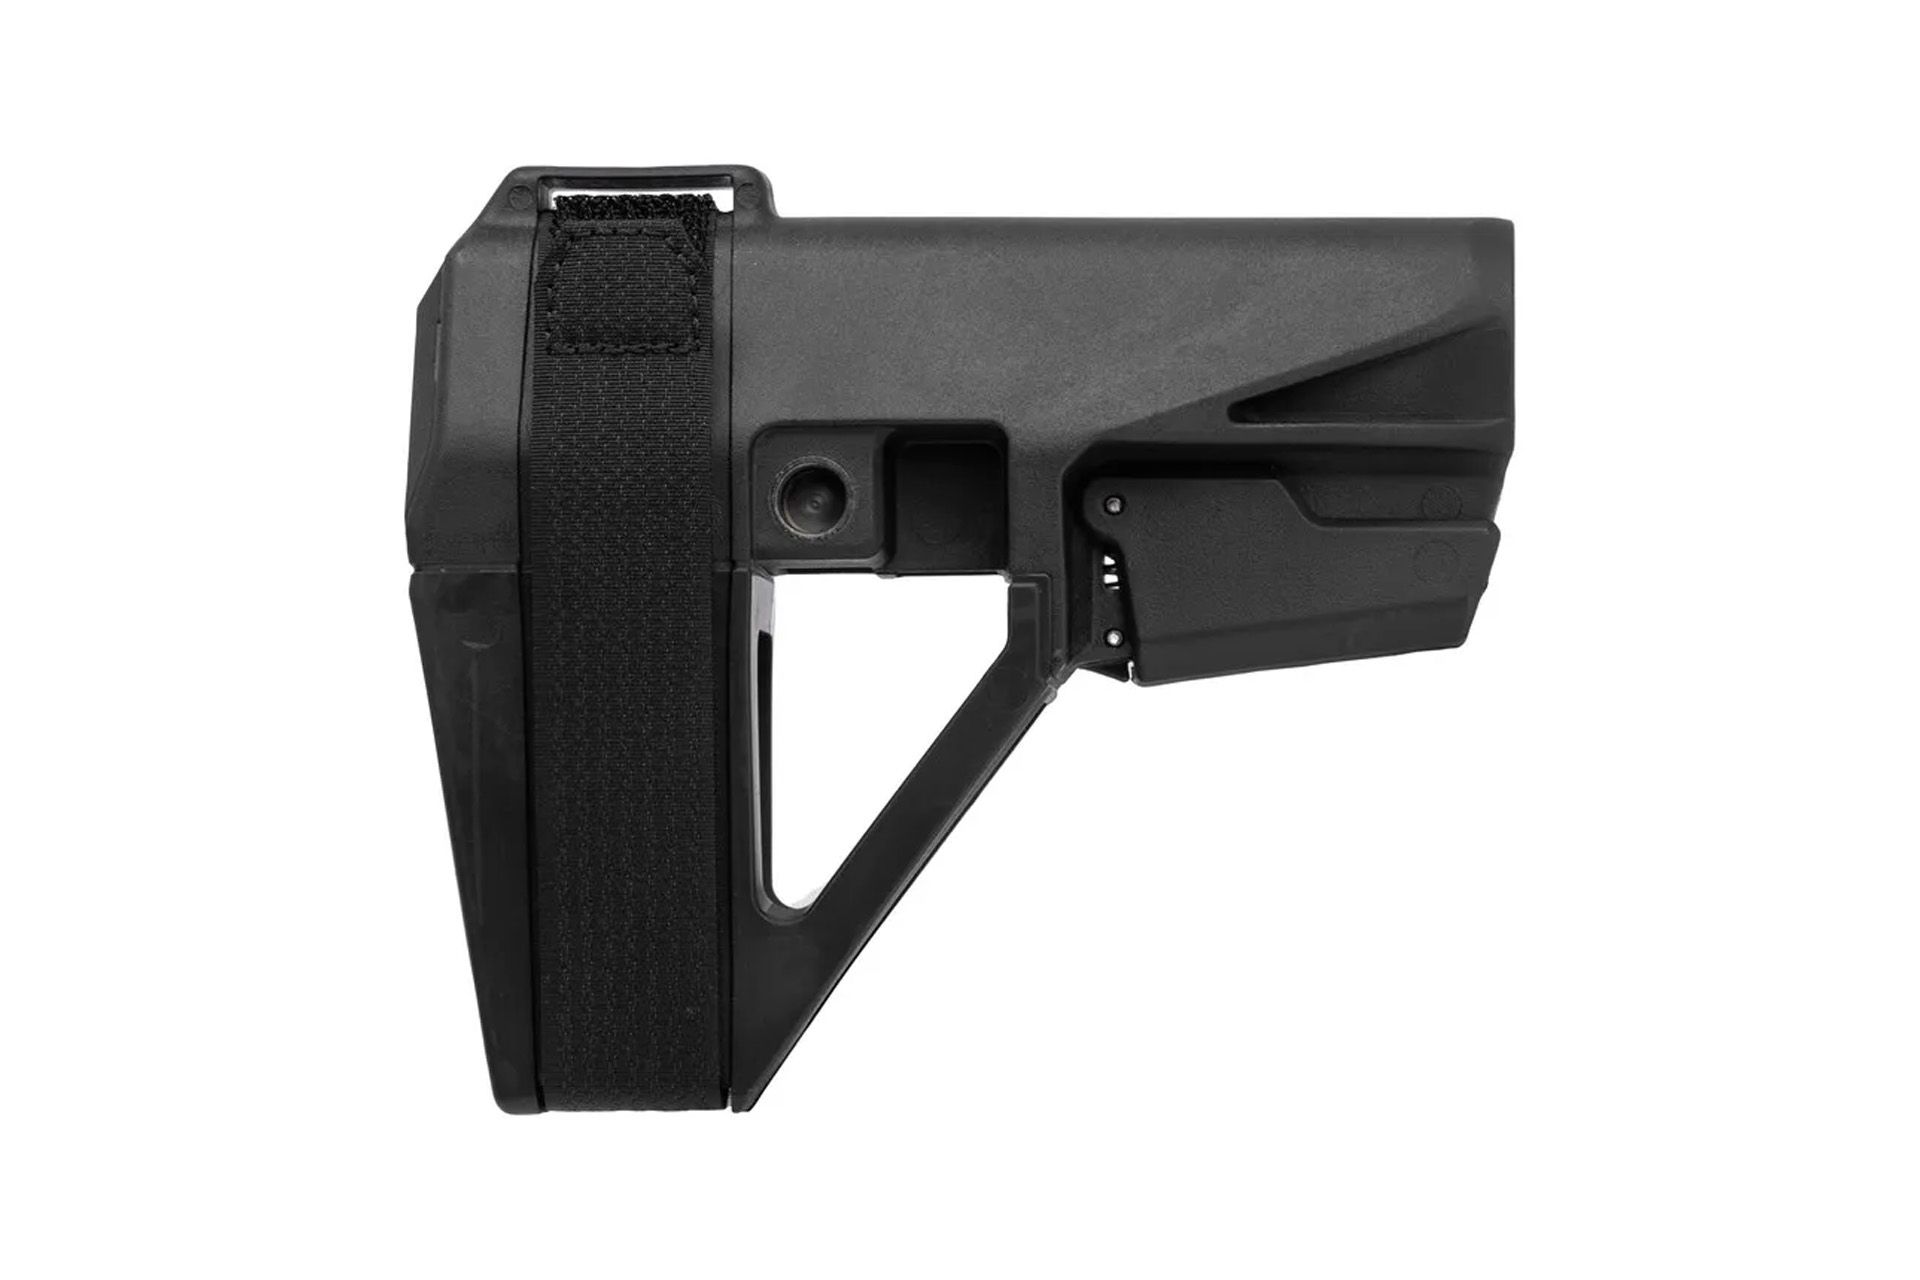
- To attach the brace, pull down on the adjustment lever at the locking pin and slide the brace onto the tube. Release the lever to lock it in place. The SBA3, SBA4, and SBA5 are all compatible with mil-spec carbine receiver extensions.
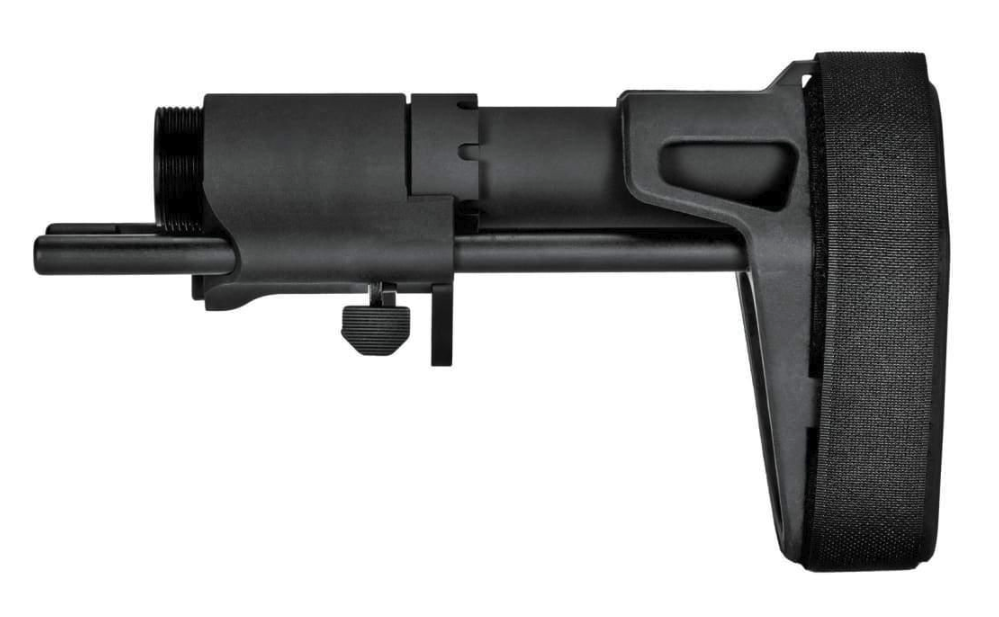
SBPDW Installation Notes
The SBPDW uses a slightly different process since it integrates its own housing. Remove any existing pistol tube, install the necessary detents and springs, then thread the included extension into the receiver. Slide the brace assembly onto the housing by depressing the adjustment and takedown levers together. Torque the integral castle nut carefully, as the components are aluminum.
Common Questions and Troubleshooting
A pistol brace attaches directly to the carbine-length buffer tube on the rear of the lower receiver. Most SB Tactical models fit both mil-spec and commercial tubes, though mil-spec is the recommended and most common standard. Always check buffer tube diameter and length against brace specifications before purchasing to confirm compatibility.
Installing the brace generally requires properly seating or removing any existing buffer tube first. Before starting, inspect the buffer retainer pin, detent springs, and tube alignment. If the brace feels loose after installation, double-check torque on the castle nut and confirm the adjustment mechanism locks fully into position. The brace should slide with some resistance and lock securely rather than move freely.
An existing castle nut and end plate can be reused as long as they are in good condition and properly torqued. Align the brace by pulling the adjustment lever fully and sliding it straight onto the tube until the pin engages. After installation, always perform a function check of the takedown pin, buffer retainer, and safety mechanisms before firing.
Final Checks and Tips
Once installed, verify everything functions smoothly. The brace should provide stable support without excessive play. SB Tactical products like the SBA5 offer lightweight construction at around nine ounces with ambidextrous QD sling points and a comfortable arm cuff based on the original SB15 design.
Browse the full selection of SB Tactical braces and complete lower build kits at AR15Discounts.com. Whether the choice is the minimalist SBA3, the reinforced SBA4, or the latest SBA5, the result is improved control and versatility for any AR pistol build.
A pistol brace attaches to the carbine-length buffer tube on the rear of the lower receiver. The brace slides onto the tube and locks into position using an adjustment lever and locking pin.
Most SB Tactical models fit both mil-spec and commercial tubes. Mil-spec is the recommended and most common standard. Always verify the specific brace model against buffer tube diameter and length before purchasing.
Check the tube diameter and length against the brace manufacturer’s specifications. Mil-spec carbine receiver extensions are compatible with the SBA3, SBA4, and SBA5. When in doubt, measure the tube or consult the product page before ordering.
Inspect the buffer retainer pin, detent springs, and tube alignment before starting. Also verify the condition of the castle nut and end plate if reusing them from a previous setup.
A loose brace typically points to insufficient torque on the castle nut or the adjustment mechanism not locking fully into a position. Double-check torque to the recommended 40 foot-pounds and confirm the locking pin is fully engaged.
The brace should slide with noticeable resistance and lock securely when the adjustment lever is released. Free movement after locking indicates the mechanism is not fully engaged or the castle nut needs additional torque.
Yes, as long as both components are in good condition with no visible damage or wear. Torque the castle nut to the recommended specification during reinstallation regardless of prior use.
Pull the adjustment lever fully, then slide the brace straight onto the buffer tube until the locking pin engages. Release the lever to lock it in place. The tube should be clocked with the keyed section at six o’clock before attaching the brace.
Perform a full function check covering the takedown pin, buffer retainer, and safety mechanisms. Verify the brace locks securely without excessive play and that all components move smoothly before heading to the range.