AR-15 Basics
AR-15 Cleaning – How to Clean an AR-15

May
With years of experience in AR-15s, at AR15Discounts, we know that keeping your rifle in optimal working condition is crucial, and AR-15 cleaning is something you need to think about from time to time. Many gun owners equate maintenance solely with cleaning, but it encompasses much more. Maintenance involves inspecting parts for wear and ensuring the rifle functions correctly. In this guide, we’ll walk you through the steps to clean your AR-15, emphasizing the importance of regular upkeep to prevent corrosion and ensure reliable performance.
Why AR-15 Cleaning Matters
Maintenance serves three primary purposes:
- Preventing Corrosion: Regular cleaning helps to prevent rust and corrosion, which can impair the function of your firearm.
- Ensuring Proper Function: By cleaning and inspecting your rifle, you ensure that all parts are in good working order, reducing the likelihood of malfunctions.
- Serviceability of Parts: Regular maintenance allows you to identify worn or damaged parts and replace them before they cause a failure.
Step-by-Step AR-15 Cleaning Process
Preparation
Before beginning, ensure your rifle is unloaded and in a safe condition. There should be no live ammunition present.
- Field Strip Level Cleaning:
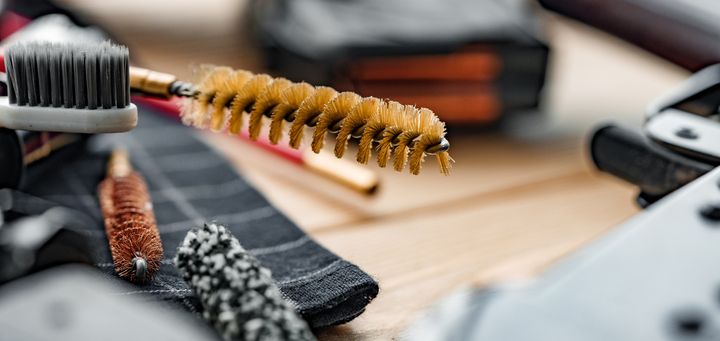
- Clean the rifle with rags, plastic and copper brushes, and appropriate solvents designed for firearms. It might be helpful to purchase an AR-15 cleaning kit if you don’t have these materials on-hand.
- Start with the upper receiver, which typically requires the most attention.
- Use copper solvents for the bore if necessary, but generally, two to three passes with a bore snake are sufficient for routine maintenance.
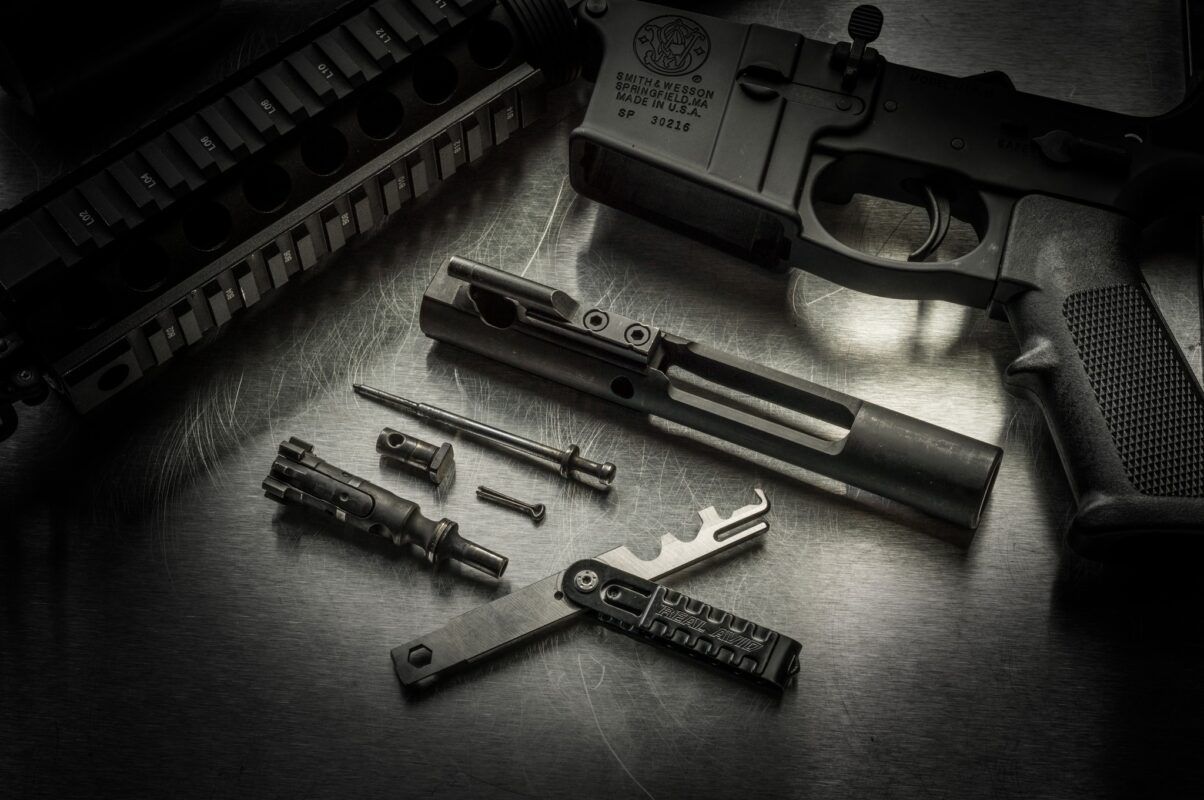
- Disassemble the Rifle:
- Remove the upper receiver from the lower receiver by popping the two takedown pins.
- Separate the bolt carrier group (BCG) and charging handle from the upper receiver.
- Disassemble the BCG into its components: carrier, bolt, cam pin, firing pin, and extractor pin.
- Cleaning the Components:
- Bolt Carrier Group (BCG): Wipe down the carrier to remove carbon and grime. Use a brush to clean the firing pin channel and the extractor. Ensure all parts are clean and free of debris.
- Upper Receiver: Clean the inside and outside with rags and brushes. If you have a free float handguard, clean inside the handguard and gas block. Remove any rust with a soft bristle brush and oil.
- Barrel: Clean the barrel with a bore brush, starting from the chamber and working towards the muzzle. Avoid changing directions with the cleaning rod inside the barrel.
- Lower Receiver: Clean the inside of the lower receiver using a rag and swabs. Clean the buffer and action spring. If you have a collapsible stock, clean the inside and outside of the receiver extension.
Inspecting Parts
After cleaning, inspect each part for wear and damage:
- Ejection Port and Feed Ramps:
- Ensure the ejection port cover snaps open and shut properly.
- Inspect the feed ramps and locking lugs for damage.
- Buffer Spring and Buffer:
- Confirm the buffer spring is the correct length.
- Inspect the buffer for damage.
- Bolt and Gas System:
- Check the bolt carrier for visible damage.
- Inspect the gas tube for dents and ensure the gas key is properly staked and undamaged.
- Check the firing pin for straightness and damage.
- External and Internal Structures:
- Check the buttstock for cracks.
- Inspect the internal structures of the fire control group for damage.
- Ensure the selector functions correctly.
- Extractor and Ejector:
- Inspect the extractor for damage and proper spring tension.
- Test the ejector by pressing the base of a dummy round against the bolt face.

Reassembly and Function Check
Once all parts are clean and inspected:
- Reassemble the Rifle:
- Reassemble the BCG and install it into the upper receiver.
- Attach the upper receiver to the lower receiver.
- Perform a function check to ensure everything operates smoothly.
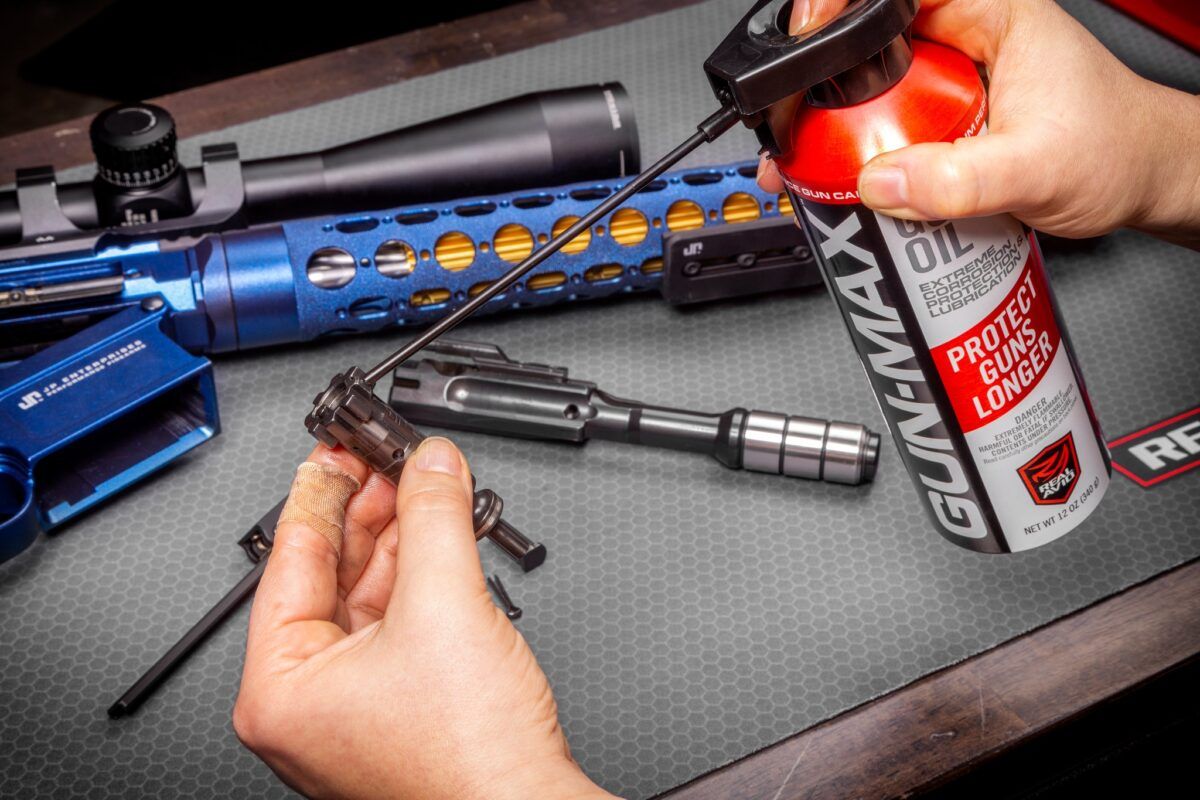
- Lubrication:
- Generously lubricate moving parts to ensure reliable operation.
Avoid Overcleaning
While regular maintenance is crucial, it’s important not to overclean your AR-15. Overcleaning can lead to unnecessary wear on the parts, especially if abrasive cleaning methods or harsh chemicals are used too frequently. As a general rule, you should clean your AR-15 after every 250-500 rounds fired, or after each use if it’s exposed to adverse conditions such as rain, mud, or dust. Routine inspection and light cleaning should be sufficient to keep your firearm in good working condition.
Conclusion
Regular maintenance of your AR-15 not only keeps it in good working order but also extends its lifespan and reliability. By following these steps, you can ensure your rifle remains in excellent condition, ready for use when you need it most. Remember, a well-maintained rifle is not just clean; it’s free of rust and damage, with all parts functioning correctly.
At AR15Discounts.com, we have a wide range of cleaning supplies and accessories to help you keep your AR-15 in top shape. From solvents and brushes to complete cleaning kits, we’ve got everything you need. Visit our store to browse our selection and ensure your AR-15 is always ready for action.