Optics
How to Mount a Vortex Rifle Scope Like a Pro: Beginner’s Guide
Jun
Table of contents
Mastering Vortex Optics: A Complete Guide to Mounting, Adjusting & Using Your Vortex Scope
Vortex has earned a top-tier reputation in the optics world, known for delivering reliable, high-performance rifle scopes, binoculars, red dots, and rangefinders that cater to hunters, tactical shooters, and outdoor enthusiasts alike. Whether you’re installing your first scope or upgrading to a Vortex Venom, Vortex Viper, or Vortex Strike Eagle, understanding proper scope mounting is essential for maximizing your optic’s accuracy and lifespan.
In this guide, we’ll walk you through everything you need to know about mounting Vortex scopes properly, selecting the right tools, answering frequently asked questions, and pointing you toward top-rated products like the Vortex Defender CCW red dot and Vortex Diamondback tactical scopes—all available at AR15Discounts.com.
Why Choose Vortex Optics?
Vortex Optics has become a household name among shooters for good reason. Built to withstand rugged environments, Vortex products come with a VIP Warranty that guarantees repair or replacement no matter what. Their extensive catalog includes high-quality optics tailored for hunting, tactical shooting, competitive sports, and everyday carry. Whether you’re a weekend plinker or a seasoned marksman, Vortex has a solution built for your needs, environment, and budget.
- Vortex Scopes, such as the Crossfire II and Diamondback Tactical series, offer outstanding clarity, reliability, and durability, making them ideal for both long-range precision shooting and all-purpose field use.
- Vortex Red Dots, such as the Vortex Defender CCW and Vortex Venom, offer rapid target acquisition with crisp reticles, making them ideal for handguns, shotguns, and carbines alike.
- Vortex Binoculars are renowned for their sharp clarity, rugged construction, and long-distance performance, making them a vital tool for hunters, wildlife enthusiasts, and tactical observers.
- Vortex Rangefinders deliver rapid, accurate distance readings with intuitive controls, allowing shooters and hunters to range targets with confidence in any terrain.
- Vortex Spotting Scopes offer unmatched detail and magnification, whether you’re glassing distant ridgelines or spotting for a friend at the range.
Whether you’re zeroing a Vortex StrikeFire 2 on your AR-15 or glassing targets with Vortex binoculars on a backcountry hunt, you’re investing in precision gear built for real-world use.
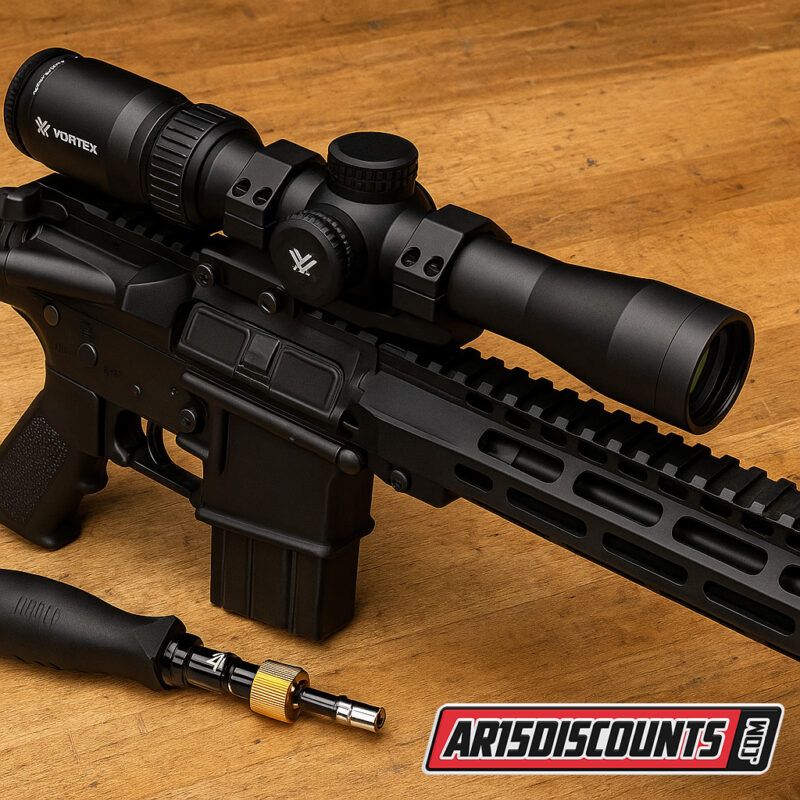
Step-by-Step: How to Mount Your Vortex Rifle Scope
Step 1: Gather Your Tools
Before you begin, ensure you have these essential tools:
- Torque wrench (inch-pounds)
- Bubble level or leveling kit
- Gun vise or shooting rest
- Non-permanent thread locker (Loctite Blue 242)
- Allen keys or Torx drivers (depending on your rings)
Shop Scope Mounting Tools on AR15Discounts
Step 2: Select and Install the Mount
Select a mount that is compatible with your rifle platform. For AR-15s, cantilever mounts work well with optics like the Vortex Strike Eagle or Vortex Crossfire II, offering proper eye relief and positioning for flat-top upper receivers. Fixed rings, on the other hand, are ideal for bolt-action setups, where scopes are positioned closer to the bore axis for improved precision.
Ensure the mount is correctly aligned with your rail slots and tightened evenly to prevent canting or shifting under recoil. Always torque the base screws to specification—most Vortex scope mounts recommend 20–25 in-lbs. Using a torque wrench ensures consistency and helps avoid over-tightening, which can damage the mount or your receiver.
Step 3: Position the Scope and Set Eye Relief
Set the scope in the rings and position it so you get a complete, unobstructed sight picture at your natural shooting position. This means bringing the rifle up to your shoulder and settling into your standard cheek weld, without straining your neck or adjusting your posture. Adjust the scope forward or back until you achieve the correct eye relief, which is generally 3.5″ to 4″ for most Vortex scopes, depending on the model.
Proper eye relief not only ensures a whole field of view but also protects you from potential scope bite under recoil, especially with larger calibers. Take your time during this step—it’s critical for both comfort and long-term shooting performance.
Step 4: Level the Reticle
Use a bubble level or a precision leveling kit to align the horizontal crosshair with your rifle’s rail or action. This ensures that your reticle is perfectly level with the bore axis. Even slight canting—just a few degrees off—can cause your point of impact to drift horizontally at longer distances, especially when shooting past 100 yards or dialing for elevation.
Place one level on the scope’s turret and another on the rail or receiver. Make micro-adjustments until both levels match exactly. This step is crucial for maintaining proper ballistic consistency, particularly with precision scopes like the Vortex Diamondback Tactical or Vortex Viper PST.
Step 5: Torque Ring Screws
Tighten the ring screws in an alternating cross-pattern—similar to how you’d tighten lug nuts on a tire—to apply even pressure across the scope tube. This prevents shifting and ensures consistent contact between the rings and the optic. Follow Vortex’s torque recommendations, which typically range from 15 to 18 in-lbs for the ring caps, using a calibrated torque wrench for precision.
Avoid overtightening, as this can distort the scope tube, damage the internal components, or cause tracking issues when adjusting elevation or windage. Applying even, proper torque helps maintain your optic’s zero and long-term reliability, especially on higher-recoiling platforms.
Step 6: Confirm Zero and Function
Take your rifle to the range and confirm that your optic is properly zeroed at your preferred distance—typically 50 or 100 yards for most AR-15 setups. Begin by firing a three-shot group and make incremental windage and elevation adjustments as needed using your scope’s turrets. To speed up the process and reduce wasted ammo, use a Vortex rangefinder to measure exact target distance and a Vortex spotting scope to observe shot placement without leaving the bench.
Once you’ve achieved a tight, centered group, verify repeatability by firing additional rounds and confirming a consistent point of impact. A well-zeroed Vortex optic ensures dependable performance in real-world conditions, whether you’re at the range or in the field.
Top Vortex Optics You Can Mount Today
- Vortex Venom – Compact, lightweight, and highly versatile, the Vortex Venom is ideal for pistols, PCCs, and carbines. It’s a 3 MOA red dot that promotes rapid target acquisition and accurate follow-up shots in close to mid-range engagements.
- Vortex Defender CCW Red Dot – Purpose-built for everyday carry, the Defender CCW features a 3 MOA dot in a rugged, shockproof housing. Its top-loading battery and motion activation make it one of the most convenient red dots for defensive pistols.
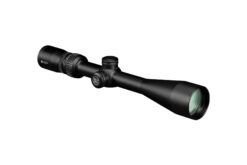
- Vortex Crossfire II – Rugged and budget-friendly, the Crossfire II series offers multiple magnification options and reticles to suit various applications, including hunting, range use, and tactical setups. Its long eye relief and fast-focus eyepiece make it a go-to for beginners and seasoned shooters alike.
- Vortex Viper PST Gen II – Designed for serious shooters, the Viper PST Gen II delivers precision optics, tactical turrets, and illuminated reticles. Ideal for duty rifles or competitive use where every click and shot matters.
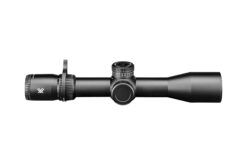
- Vortex Diamondback Tactical – A perfect balance of value and performance, the Diamondback Tactical features a first focal plane reticle, exposed turrets, and high-end tracking at a mid-range price. Excellent for long-range shooters on a budget.
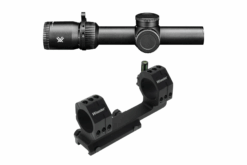
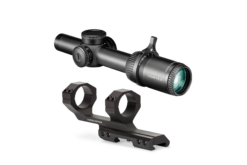
- Vortex Strike Eagle – This popular LPVO (low-power variable optic) is optimized for AR-15s and excels in 3-Gun competition, tactical environments, and defensive setups. With its BDC3 reticle and quick magnification range, it’s a top-tier choice for dynamic shooting scenarios.
Frequently Asked Questions About Mounting Vortex Scopes
Properly mounting your Vortex rifle scope is essential for accuracy, reliability, and long-term performance. Whether you’re a first-time builder or a seasoned shooter fine-tuning your setup, the following FAQs will help guide you through best practices, recommended tools, and common pitfalls to avoid when installing your Vortex optic.
You’ll need a torque wrench (in-lb rated), a leveling kit or bubble level, appropriate Torx or Allen drivers, Loctite Blue, and a stable vise or shooting rest.
Lapping is optional but may improve ring contact and reduce stress on the scope tube. Vortex rings are generally of high enough quality to skip this step.
Vortex recommends 15-18 in-lbs for ring caps and 20-25 in-lbs for base screws. Always check the manual for your specific ring.
Place a level on the rail and one on the turret. Adjust until both are parallel. Alternatively, use a dedicated scope leveling system.
Yes, use a non-permanent thread locker, such as Loctite Blue 242. This helps prevent screws from backing out under recoil.
Ring height depends on your rifle and optic diameter. For 30mm tubes on ARs, medium or high rings are usually ideal.
Absolutely. Vortex offers optics specifically designed for the AR platform, including the Vortex StrikeFire 2 and Vortex Crossfire.
Mount the rifle comfortably, bring the optic to your natural cheek weld, and adjust until you have a complete sight picture with no dark ring.
Yes. Misalignment, over-torquing, or poor ring contact can cause inconsistent point of impact and degraded accuracy.
No. Vortex’s VIP Warranty covers manufacturer defects and accidental damage regardless of who mounts the optic.
Why Buy Vortex Optics from AR15Discounts?
AR15Discounts.com offers a curated selection of Vortex scopes, Vortex red dots, and Vortex binoculars, all priced competitively and ready to ship. With thousands of verified reviews, fast shipping, and expert customer support, you can trust AR15Discounts to outfit your build with quality optics.
Discover top-rated options like the Vortex Diamondback Tactical, Vortex Viper PST, or Vortex Defender red dot sight—all backed by Vortex’s industry-leading VIP warranty.
Final Thoughts
Mounting your Vortex optic correctly ensures it performs to its full potential in any shooting scenario. From selecting the right tools and applying proper torque specs to zeroing your rifle and choosing the ideal ring height, every detail matters. Whether you’re dialing in a Vortex Venom on your pistol for quick target acquisition or zeroing a Vortex Strike Eagle on your AR-15 for multi-distance precision, take your time and do it right the first time. And when you’re ready to upgrade your glass or complete your build with reliable optics and accessories, shop trusted Vortex gear directly at AR15Discounts.com.
additional resources, www.arbuildjunkie.com